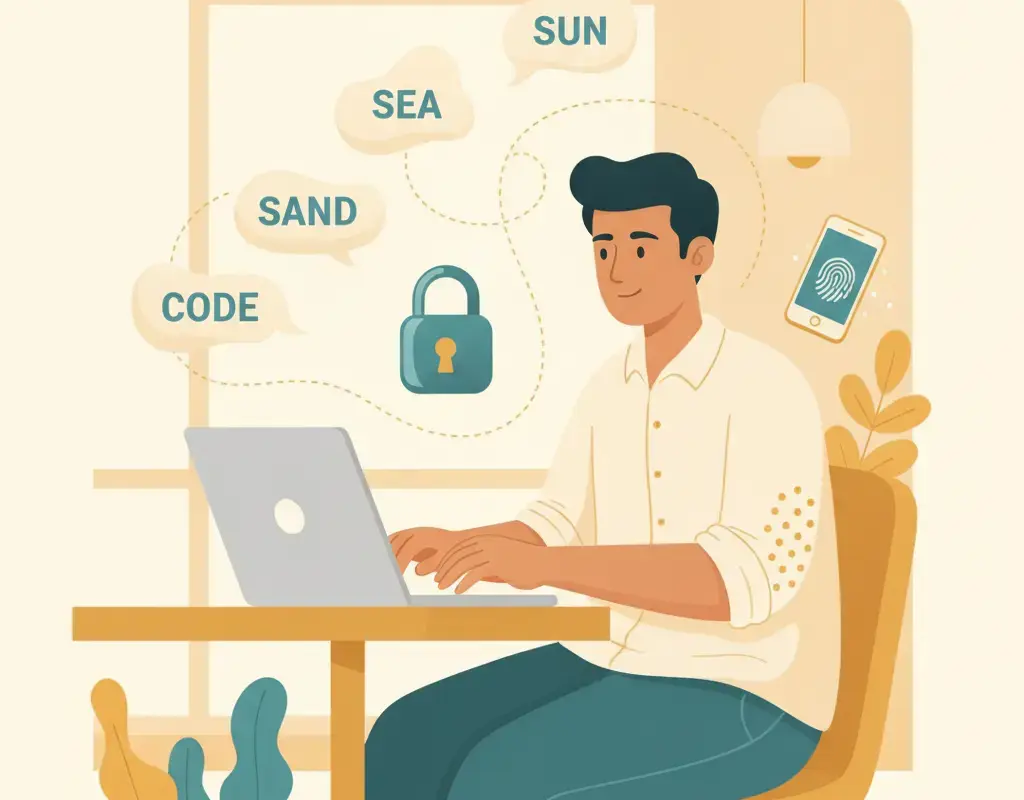
How to Enable Two-Factor Authentication on Gmail
Your Gmail is the master key to your bank resets, UPI apps and government logins. Turning on 2-Step Verification takes a few minutes and blocks most account takeovers.

To enable two-factor authentication on Gmail, open your Google Account, go to the Security section, select 2-Step Verification, and follow the on-screen steps to add your phone. Google calls this feature 2-Step Verification. Once it is on, signing in needs your password plus a second step, such as a prompt on your phone or a code from an authenticator app, so a stolen password alone is not enough to break in. Set up backup codes and, ideally, an authenticator app so you are never locked out.
Key Takeaways
- Google calls two-factor authentication "2-Step Verification"; it is free and built into every Google Account.
- With it on, a thief who steals your password still cannot sign in without your second step.
- You can approve sign-ins with a Google prompt, an authenticator app code, or a security key.
- Always save backup codes and add a second method so you are never locked out of your own account.
- Your primary email deserves this protection first because it can reset passwords for everything else.
Learning how to enable two-factor authentication on Gmail is one of the smartest few minutes you can spend on your online safety. Google calls this feature “2-Step Verification,” and it means that signing in to your account needs two things instead of one: your password, plus a second step such as a tap on your phone or a short code. The reason this matters so much is simple. Your Gmail is usually the master key to your whole digital life; it can reset the password on your bank, your UPI apps, your shopping accounts and many government logins. If someone steals just your Gmail password, they can walk into everything. With 2-Step Verification switched on, a stolen password on its own is useless to them.
What is two-factor authentication and why does Gmail call it 2-Step Verification?
Two-factor authentication (often shortened to 2FA) means proving who you are with two separate things: something you know (your password) and something you have (your phone, an authenticator app, or a small security key). Google’s name for this is “2-Step Verification,” but it is the same idea. The two “steps” are your password first, then the second proof. Because a criminal on the other side of the country might guess or buy your leaked password, but almost certainly does not have your physical phone in their hand, this second step blocks the vast majority of account takeovers. It is the single most effective protection you can add to an account, and for email it should be considered essential.
How do I enable two-factor authentication on Gmail?
The process is built into your Google Account and is free. You can do it on a computer or on your phone. Here is the general flow; the exact wording of buttons can change slightly, but the path is stable.
- Open your Google Account. On a phone, open the Settings app and tap Google, or go to your account from the Gmail app. On a computer, sign in and open your Google Account page.
- Go to Security. Look for the “Security” section, which lists all the ways you sign in.
- Select 2-Step Verification. Under the heading “How you sign in to Google,” choose 2-Step Verification.
- Follow the on-screen steps. Google will ask you to confirm your password, then guide you to add a phone number or set up a prompt.
- Confirm the second step. Enter the test code or approve the test prompt to prove it works, then turn the feature on.
Once it is on, you will normally be asked for the second step only when signing in on a new device or browser, not every single time on your own trusted phone. Google notes that after you set up an authenticator, it can take up to seven days for that app to appear as a sign-in option, so set it up in advance rather than waiting for an emergency.
Which second-step method should I choose?
Google offers several second steps, and you can, and should, set up more than one so you always have a backup. Here is how the common options compare.
| Method | How it works | Best for |
|---|---|---|
| Google prompt | A “Yes, it’s me” tap appears on your signed-in phone | Everyday convenience; fast and easy |
| Authenticator app | An app on your phone generates a fresh code every few seconds, offline | Reliability with no signal; strong security |
| Backup codes | Printed one-time codes you save in advance | Emergencies, lost phone, no network |
| Security key / passkey | A physical key or your device unlocks the account | The strongest protection for high-risk users |
| SMS code | A code is texted to your number | A simple fallback, but weaker than the above |
For most people, a Google prompt plus an authenticator app, backed by printed backup codes, is an excellent and practical setup. SMS is better than nothing, but a code sent by text can be lost if you have no signal or if your SIM is compromised, so treat it as a fallback rather than your only method.
How do I set up an authenticator app?
An authenticator app generates a rolling six-digit code on your phone without needing any internet or signal, which makes it reliable and hard to intercept. To set one up, go to your 2-Step Verification settings, tap “Set up authenticator” (or “Authenticator app”), and follow the steps. On a computer you will usually be shown a QR code that you scan with the app on your phone; on a phone you may be able to link it directly. After scanning, the app starts showing codes, and you enter the current code once to confirm the link. From then on, when Gmail asks for your second step, you open the app and type the code it shows.
One important habit: if you plan to change or reset your phone, move your authenticator to the new device first, or make sure your backup codes are saved. Otherwise you can accidentally lock yourself out. This is not a reason to avoid the app; it is a reason to also keep backup codes, which we cover next.
Why are backup codes so important?
Backup codes are a set of one-time codes that Google gives you when you turn on 2-Step Verification. Each code works once and lets you sign in even if you have lost your phone, have no signal, or cannot use your usual second step. They are your safety net. When you enable the feature, save your backup codes somewhere safe and offline, for example printed and kept with your important documents, not in a note on the same phone you might lose. If you ever use several of them or think they were exposed, you can generate a fresh set from your security settings, which cancels the old ones. Setting up backup codes is the step people most often skip, and it is the one that saves you from being locked out of your own account.
Does this replace having a strong password?
No. Two-factor authentication and a strong password work as a team. The password is your first lock, and 2-Step Verification is the deadbolt that holds even if the first lock is picked. A weak, reused password still puts you at risk of other problems, so it is worth getting both right. If you have not already, read our guide on how to create a strong password and give your Gmail a long, unique passphrase before or right after you switch on the second step. Together, a strong password and 2-Step Verification stop the overwhelming majority of account-takeover attempts.
What about scams that try to defeat two-factor authentication?
Turning on 2-Step Verification is powerful, but criminals know it exists, so they try to trick you into handing over the second step yourself. The most common tactic is a phone call or message pretending to be from Google, your bank, or “support,” saying there is a problem and asking you to read out the code that just arrived, or to approve a prompt “to verify your identity.” Never do this. A genuine second-step code or prompt is only ever for you to complete a sign-in you started. If anyone asks you to share the code or approve a prompt you did not trigger, it is a scam, and approving it hands them your account. The same discipline you use against a phishing SMS applies here: your codes and prompts are private, always.
Common mistakes when setting up 2-Step Verification
- Skipping backup codes. Without them, a lost or reset phone can lock you out. Always save them offline.
- Using only SMS. Add an authenticator app or Google prompt as your main method and keep SMS as a fallback.
- Setting it up on only one device. Register a second method or device so a single lost phone is not a disaster.
- Approving prompts you did not start. If a “Yes, it’s me” appears when you are not signing in, tap No; someone may be trying your password.
- Not updating your recovery phone and email. Keep these current so Google can help you recover access if needed.
Which of my accounts should get this next?
Once your Gmail is protected, extend the same shield to every account that holds money or identity. The table below shows a sensible order.
| Order | Account | Why |
|---|---|---|
| 1 | Primary email | Resets passwords for almost everything else |
| 2 | Internet banking and UPI apps | Direct access to your money |
| 3 | Government and Aadhaar-linked logins | Hold your identity records |
| 4 | Social media and shopping accounts | Can be used to impersonate you or spend money |
Most major banks, wallets and social platforms offer their own version of two-factor authentication in their security settings. Turning it on everywhere that matters builds a strong, layered defence. For a wider view of protecting yourself online, see our cybersecurity basics and scam awareness hubs.
The bottom line
Enabling two-factor authentication on Gmail is quick, free, and one of the most effective safety steps available to any ordinary phone user. Open your Google Account, go to Security, choose 2-Step Verification, and follow the steps. Add an authenticator app and print your backup codes so you can never be locked out, and never share a code or approve a prompt for a sign-in you did not start. Do this for your email today, then repeat it for your bank and other important accounts. A stolen password is a real and common threat; with a second step in place, that stolen password simply stops being enough.
Sources
Kavya Hegde
Kavya Hegde covers Karnataka government digital services for Cyber Kannadigas. Based in Hubballi, she has a background in public administration and has spent years helping citizens — and her own extended family — navigate online government portals from Seva Sindhu to Bhoomi… Read full profile →
Frequently Asked Questions
Stay scam-safe: alerts in your inbox
Get new scam alerts, UPI-safety tips, and digital-literacy guides weekly. Free.